Project 1 - CG Objects Integration
Week One
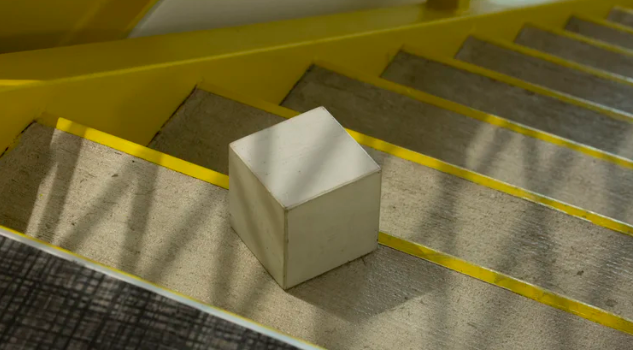
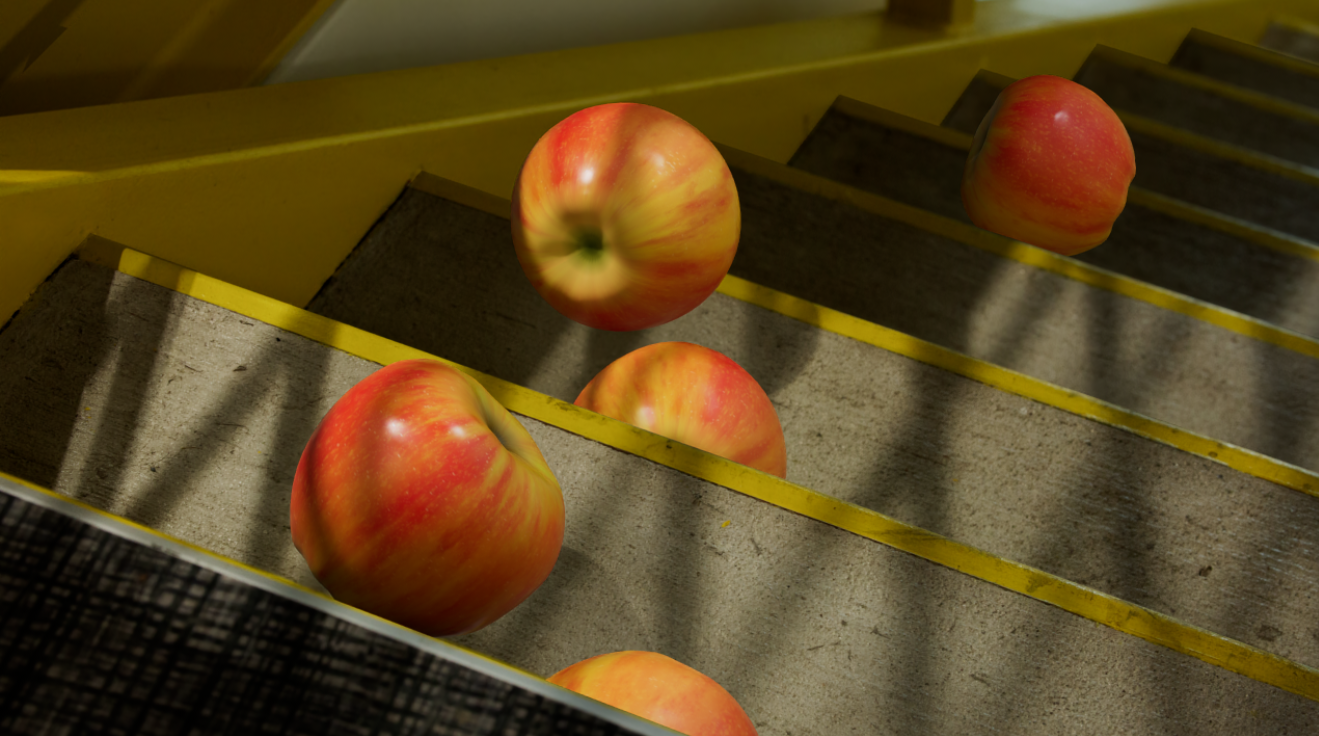
To start of this project we had to pick a clean plate. I choose this stairwell one because I believe it would be a fun challenge to be able to cast proper shadows on the rendered 3D object, and the added challenges that will bring to the composited shot. I decided to go to the location this plate was taken to also get reference photos of the environment for the Maya scene. I also took an HDRI on scene, even though I will be using over methods for lighting as well. I also decided to take a Polycam scan of the stairwell for modeling reference.
I also spent time setting up the camera properly in the scene using the cube.

After doing this I decided on which object I will be integrating into the scene. I decided to choose an apple, mainly because I new I wanted to do a simulation of falling objects that would have different varieties, and apples are perfect for that! I decided to procedural model the apple in Houdini and do the textures for it in a mix of COPS and Photoshop.
To model the apple, I began with a sphere in Houdini. This sphere was then manipulated with different soft transforms and mountain noises to get the more natural shape with divots on either side. The stem was then a separate piece of geometry that was merged in.
I decided to three types of apples for the scene. A Honeycrisp, a Macintosh, and a Fuji. The textures where made in Copernicus inside Houdini with a mix of different noises and masks. The node network is below. Same method was applied to the roughness and bump of the apples.
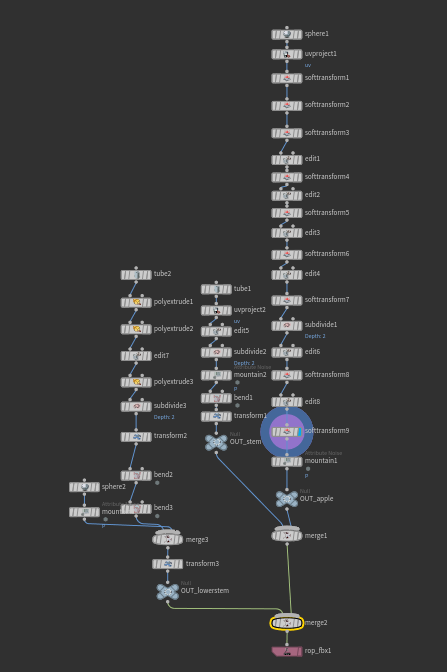
Creating the apple model in the object layer.
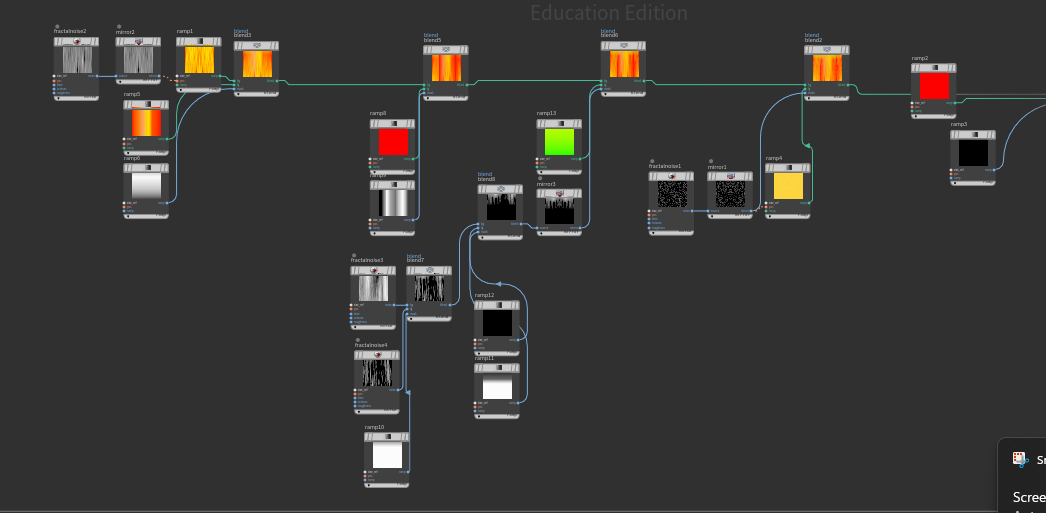
Combing different colors through noise masks in Copernicus.
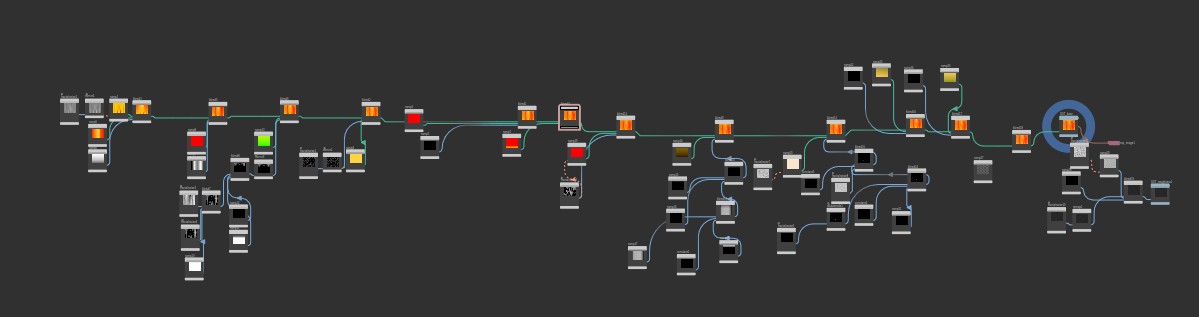
Entire texture Copernicus map.
First Round of Textures. Some of the textures were made in Houdini, but I also explored painting textures in both substance and Photoshop. The red texture is an example of this.
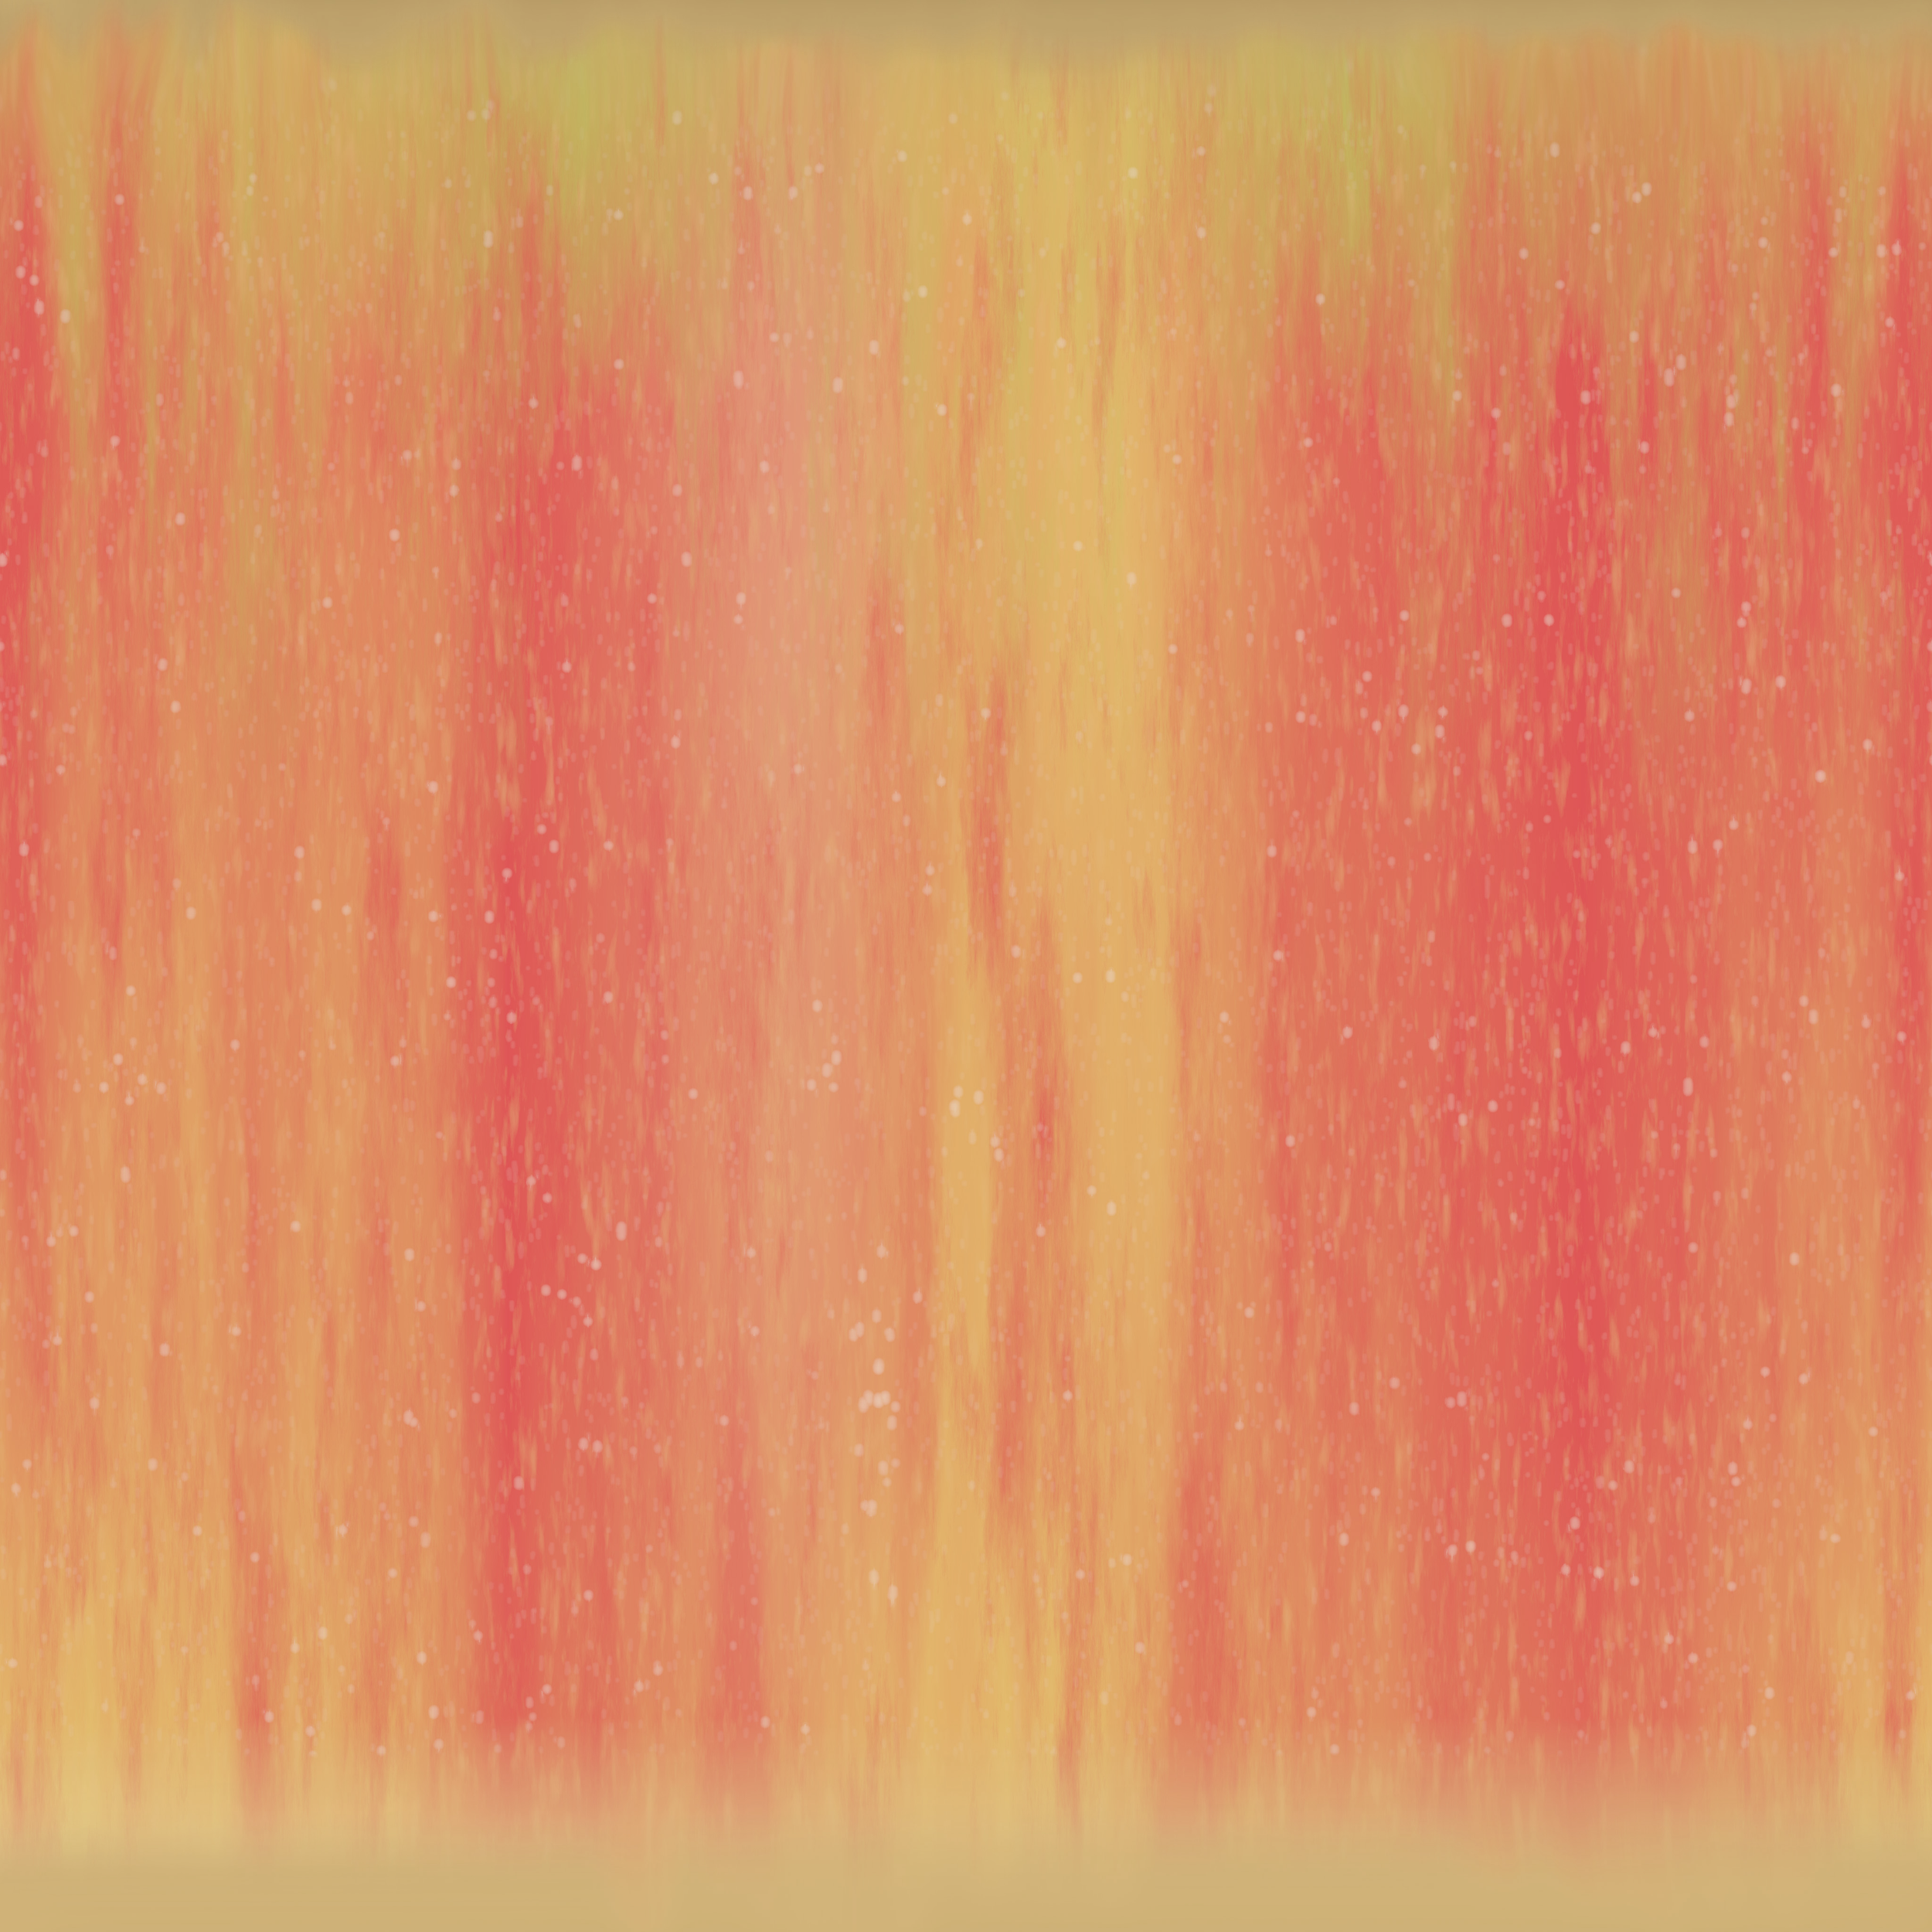
Honeycrisp #1

Honeycrisp #2

Macintosh
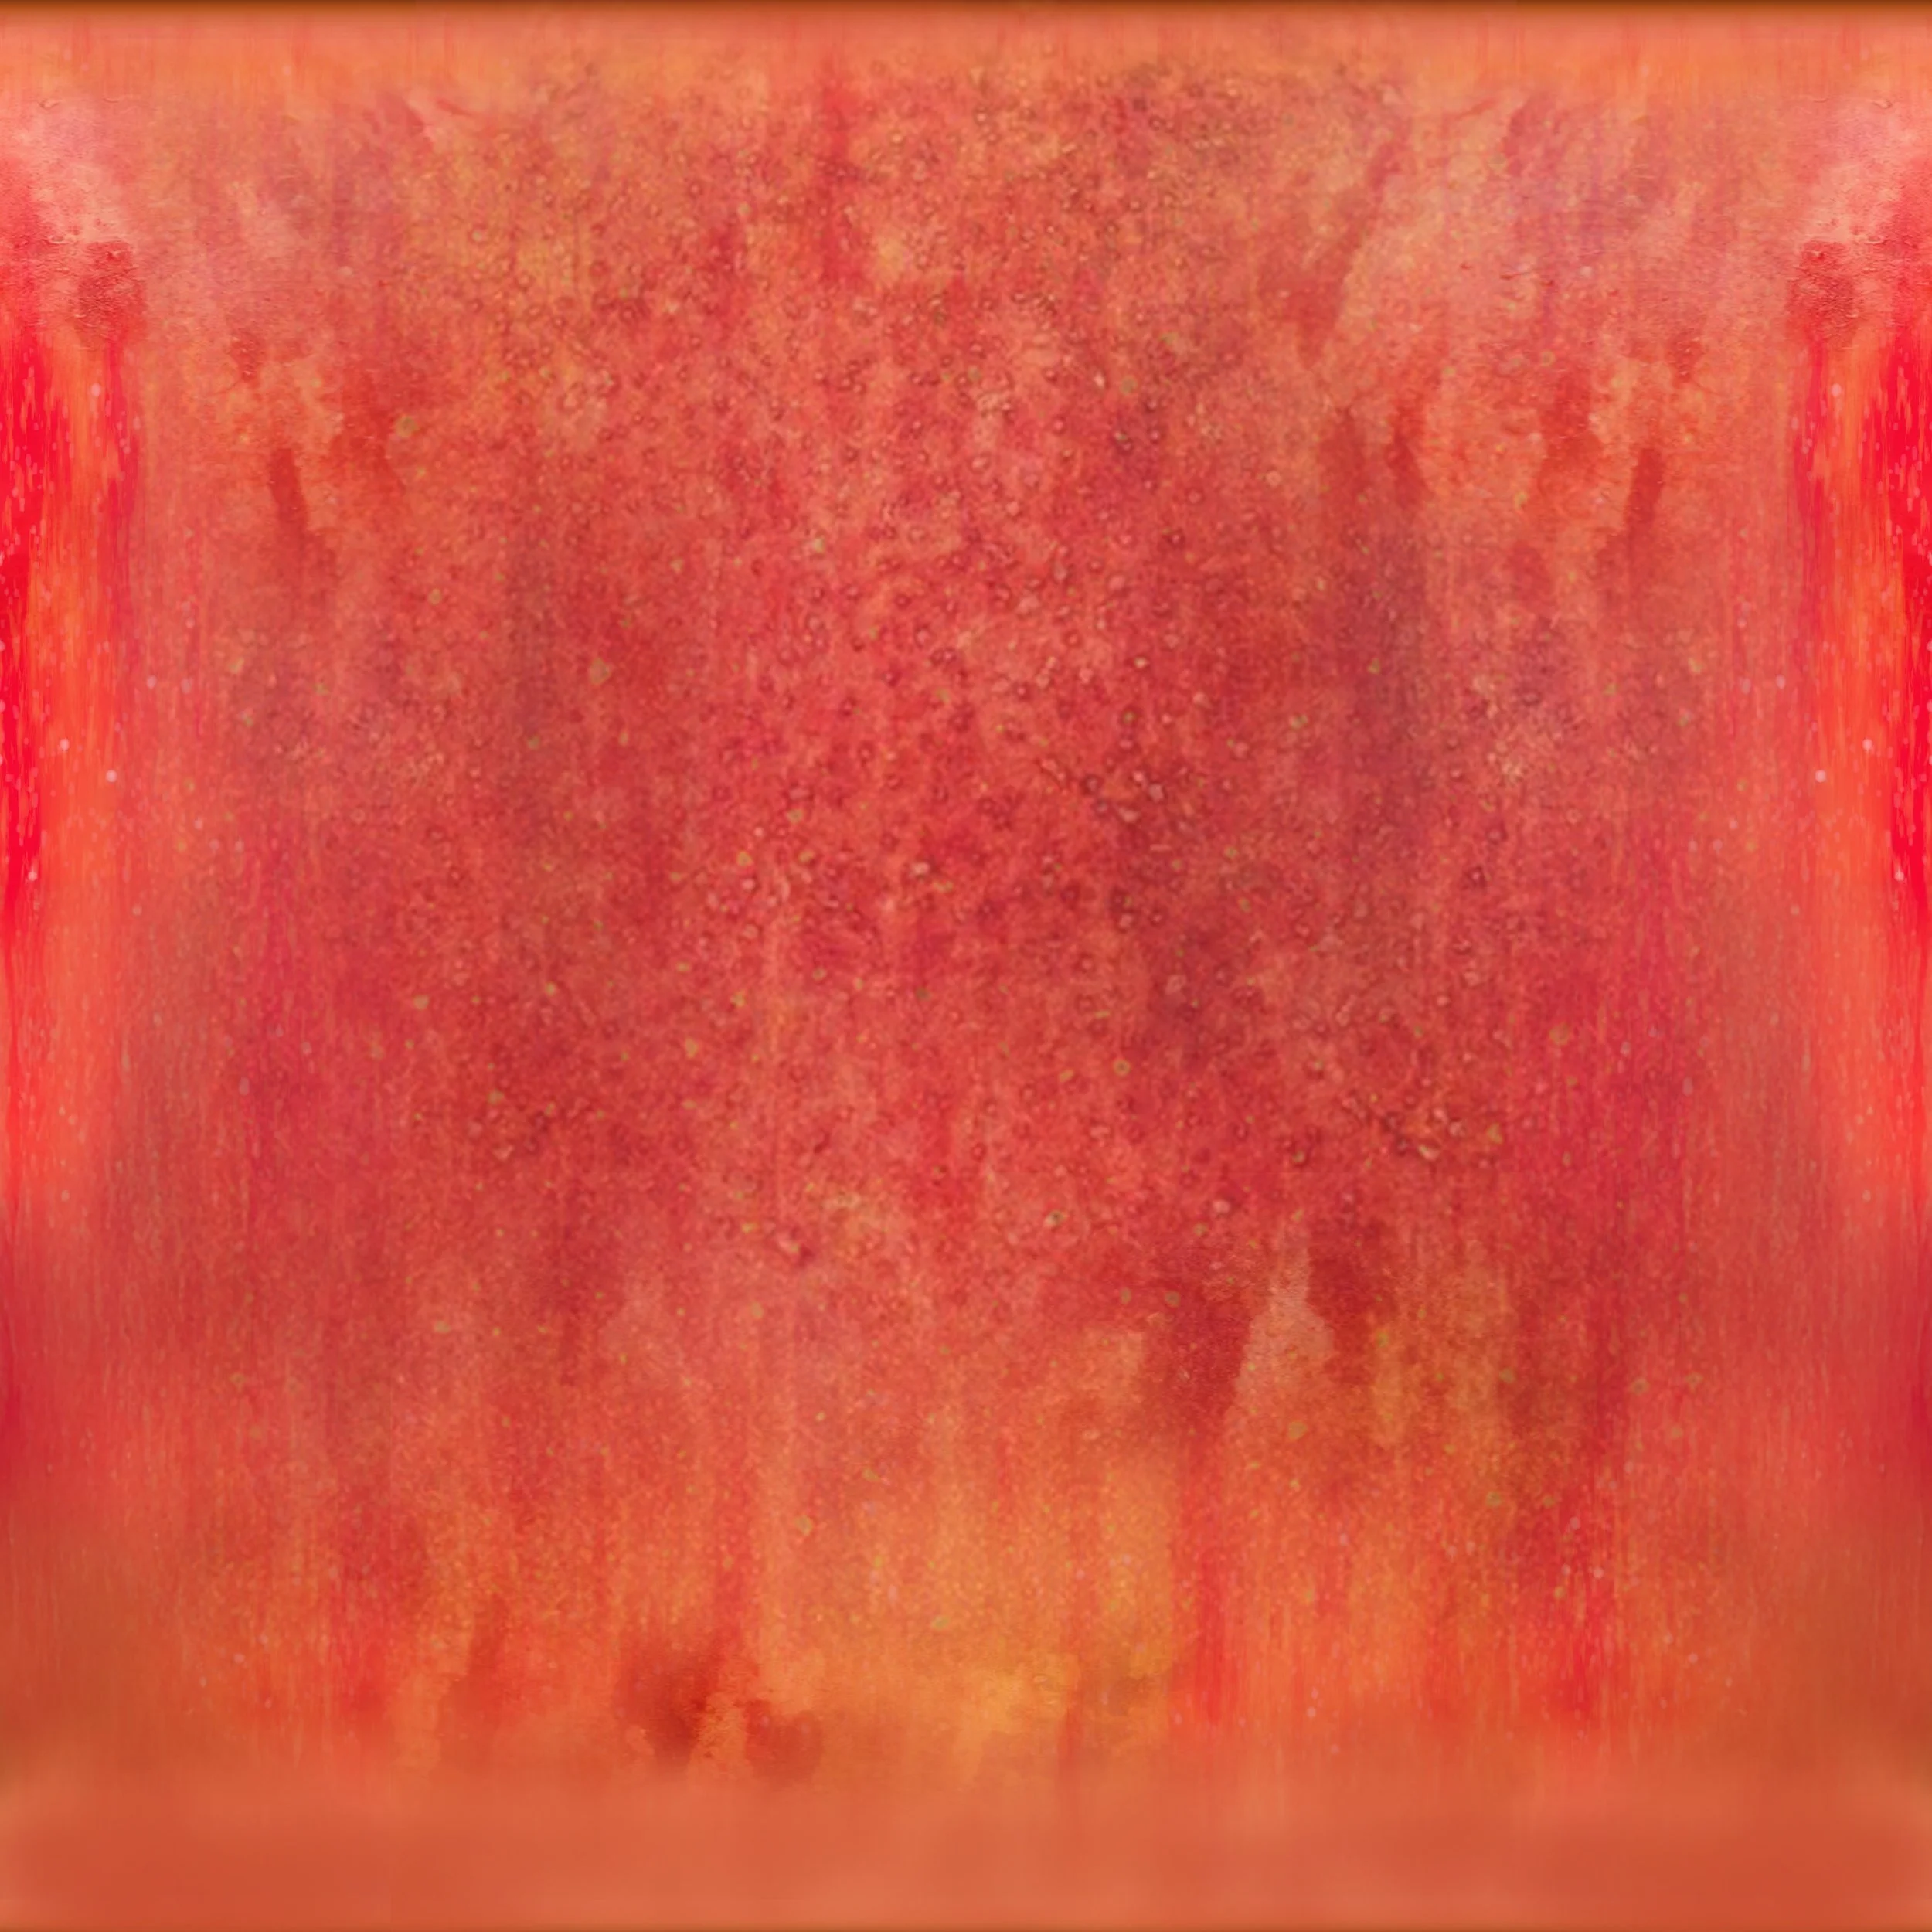
Red Apple
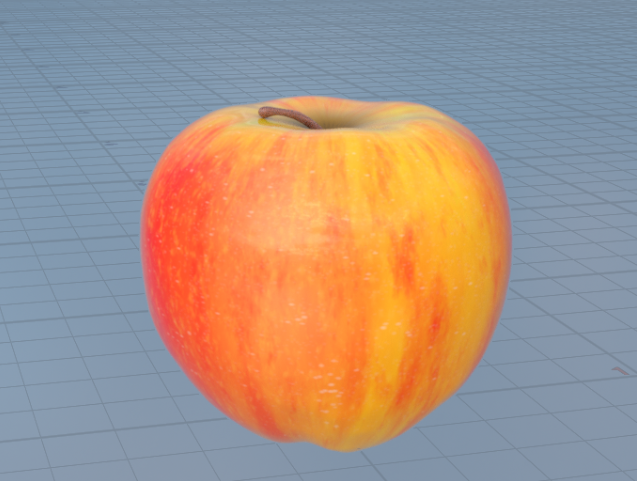
Test Texture Render with Honeycrisp #2
Week Two
This week will be dedicated to setting up all of the geometry and the lights in the scene. Since the object was not going to be integrated on a flat surface. I decided that it would be best for the surrounding environment to be modeled to cast accurate shadows. If it was a projected mask from the camera, when the apples go to the lower steps, there would be weird creases in the mask were it does not line up due to the elevation change.
Using the reference footage and photogrammetry scans I took, setting up the geometry was fairly intuitive. I used a shadow matte texture to constantly check if the shadows I was casting matched up with the back plate properly. I also used the cube and grey ball plates to reference against a 3D cube and sphere in Maya to also test shadows.
I also began bringing the final apples into the scene and did notice that the texture did not look very realistic, and that’s when I decided to go back and change them a bit. Which is seen above under the first draft of Textures.
Week Three
Final Video and Breakdown For Submission One
Final Feedback on Submission One
I do believe that the apples in my first submission did not have enough specularity, and thus look dull.
The shadows are too harsh towards the wall of the stairs, and the shadow casted on the red apple is way too strong when compared to the rest of the surroundings.
The is also a miss match in the shadows on the stairs towards the bottom right of the video. This is due to a miss-match of the modeled geometry of the staircase.
All this feedback will be applied to my re-submission when I revisit this assignment towards the end of the quarter.
3/10/2026
Currently working on the resubmission for this project. I am exploring improving the textures on the apples to improve and make them more realistic. I reduced the roughness noise map on the apples and that made them a lot shinier, which is good because a lot of apples you get from the store are waxy and reflect a lot of light. I do believe that decreasing the roughness was a major improvement in the look of the apples.
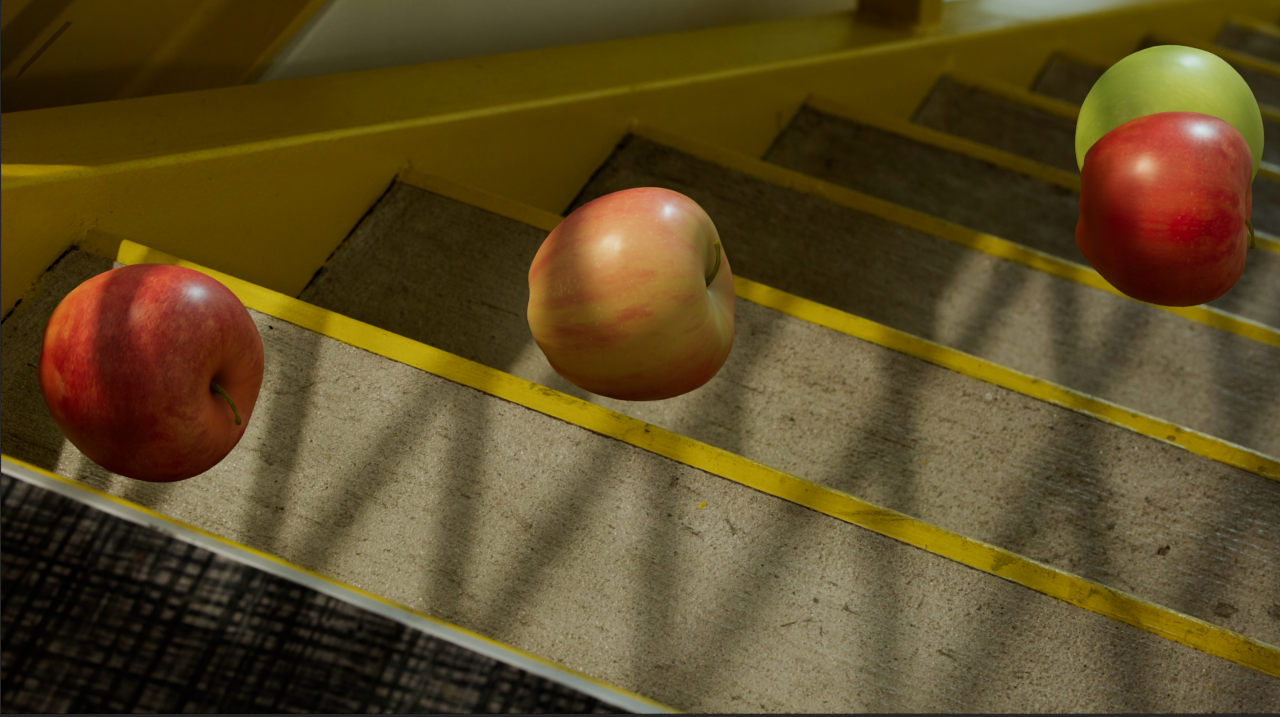
This is just the beauty layer of the new apples; the shadows were still being edited at this stage.
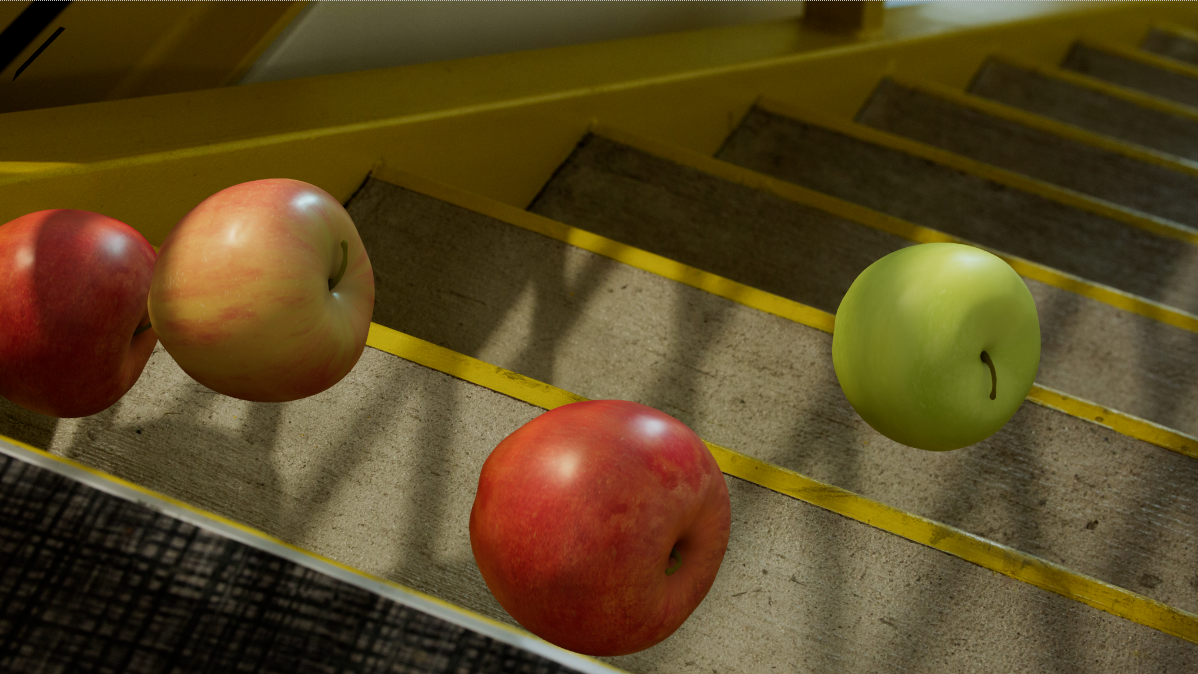
Adding Shadows to Resubmit
Final Resubmit Video